After successfully splitting out dark and light elements of the sprites and rendering them in a HDR style, I figured: why stop there? Maybe I could squeeze another colour into the render - some specific shade of grey - that I could treat in a different way to introduce dithered areas to the sprite.
This came together very quickly but it resulted in my Makefile, yet again, becoming too complicated. So I decided to rethink my approach.

If only there was a way to encode information about three different colours in a single bitmap image. Hang on a minute, there already is: RGB!
Channels
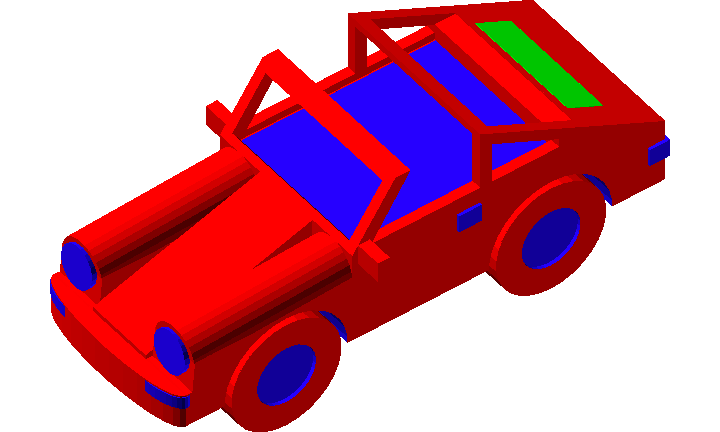
So my new idea was to use red, green and blue as the colours for my render, then split the image into those colour channels and process each individually to get separate light, dark and dithered elements.
Using imagemagick it is easy to separate a single channel from an image:
magick render.png -channel G -separate green.png
From this simple start things quickly become more complex. I always find building imagemagick commands a very time consuming process. Indeed, it took me a long time to arrive at a workflow that was just right. But I think of it as time well-spent as it will result in much quicker and easier iterations when designing vehicles.
Overall, I did a few more tricks:
- threshold convert the channels to 1-bit colour
- apply a dither pattern to the green channel
- composite select layers back together as the final image
And the process worked a treat!
The resulting workflow takes half as long to execute as my previous workflow, with all vehicles rendering in ~8 minutes compared to ~16 minutes before that.
Here are some example hi-res images showing the journey from initial render to final composite:






Elsewhere
- 2021-06-06—Hacker News
Found this helpful? Consider buying me a coffee.
--
Comments: @gingerbeardman